

Building a plotter (part 1)
About two years ago I finally pulled the trigger and purchased a 3D printer. Now I missed the Great Fun™ part of the 3D printing hobby where you spent more time hardware hacking than actually printing. My 3D printer just works. It’s a utility. Sure I got to upgrade it from a bed slinger to a core-XY, but there was never any doubt that it would work at the end of the upgrade.
But there is a part of me that wanted to experience some of the fun of those early days of 3D printing, without half as much of the hassle.
Enter my plotter project.
This was inspired by a colleague who is also building a plotter. His plotter is more adventurous than mine, but we can both have fun either way.
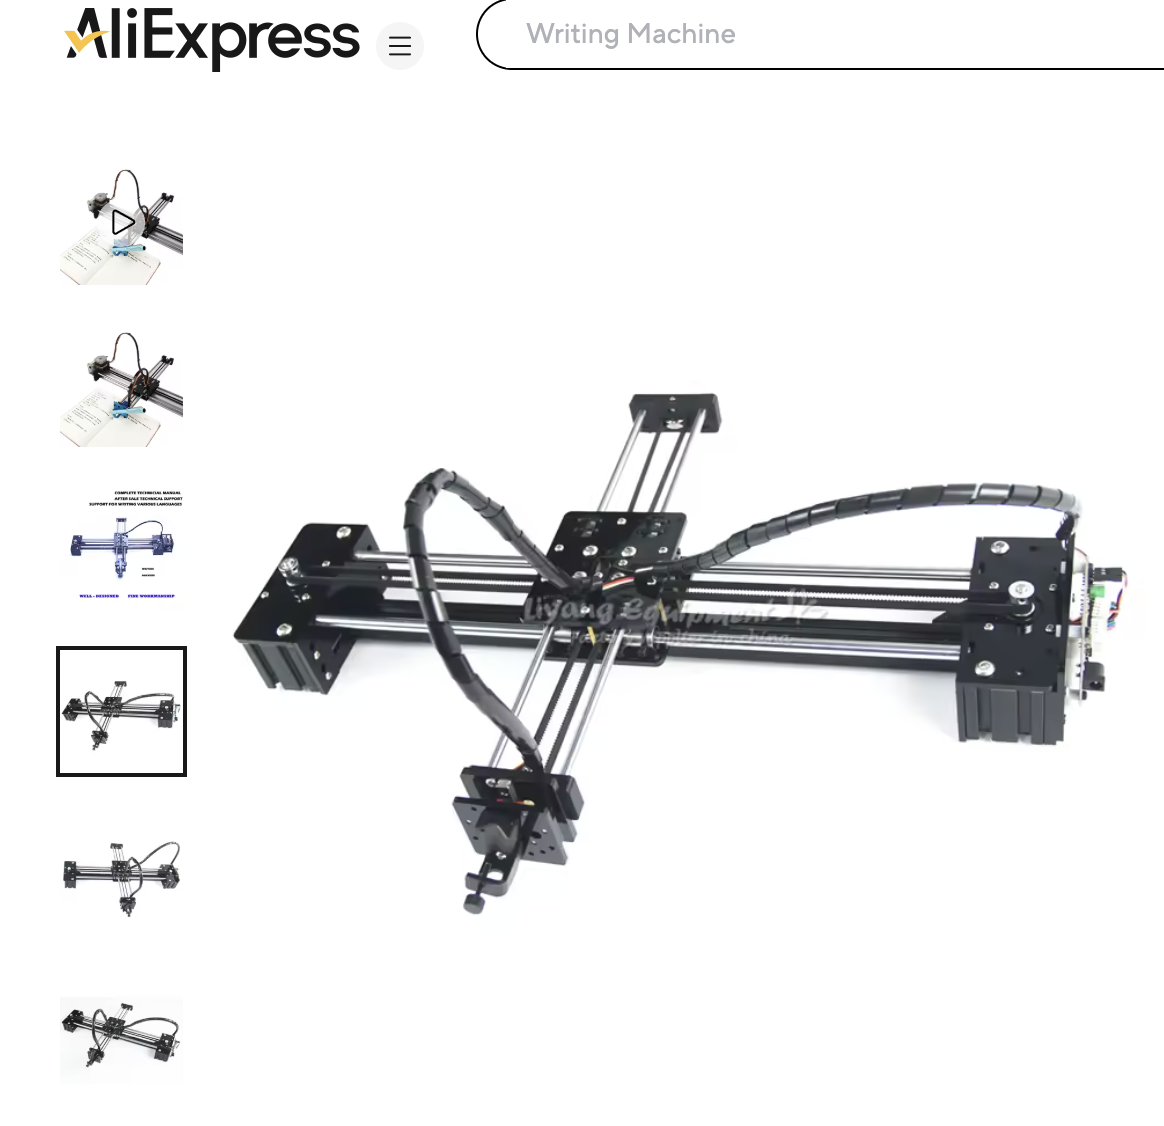
I started by ordering a basic plotter off AliExpress. There are loads of them, they all look something like the one at the top of the page.
Before you buy one of these, there are a few things to know about it:
- It doesn’t have any end-stop sensors, so homing can be tricky.
- It’s controller uses an old version 0.9 dialect of GRBL which is not supported by all tooling.
- The cooling fan is loud.
- It is prone to moving about when plotting.
- It doesn’t support WiFi.
- No touch screen.
None of these are deal breakers if you just want a simple plotter. But part of this project is not being happy with just a simple plotter.
So in the subsequent parts I’m going to try and upgrade and rework the plotter into the plotter I want it to be.
I already have end stop sensors crudly hacked into place with some quick 3D printed parts, but I’m not happy with that entirely and the homing with the current controller is not great.
My colleague suggested that I try FluidNC instead, but that requires a different controller board.
An altogether too quick search suggested I try a Makerbase MKS DLC32 controller:
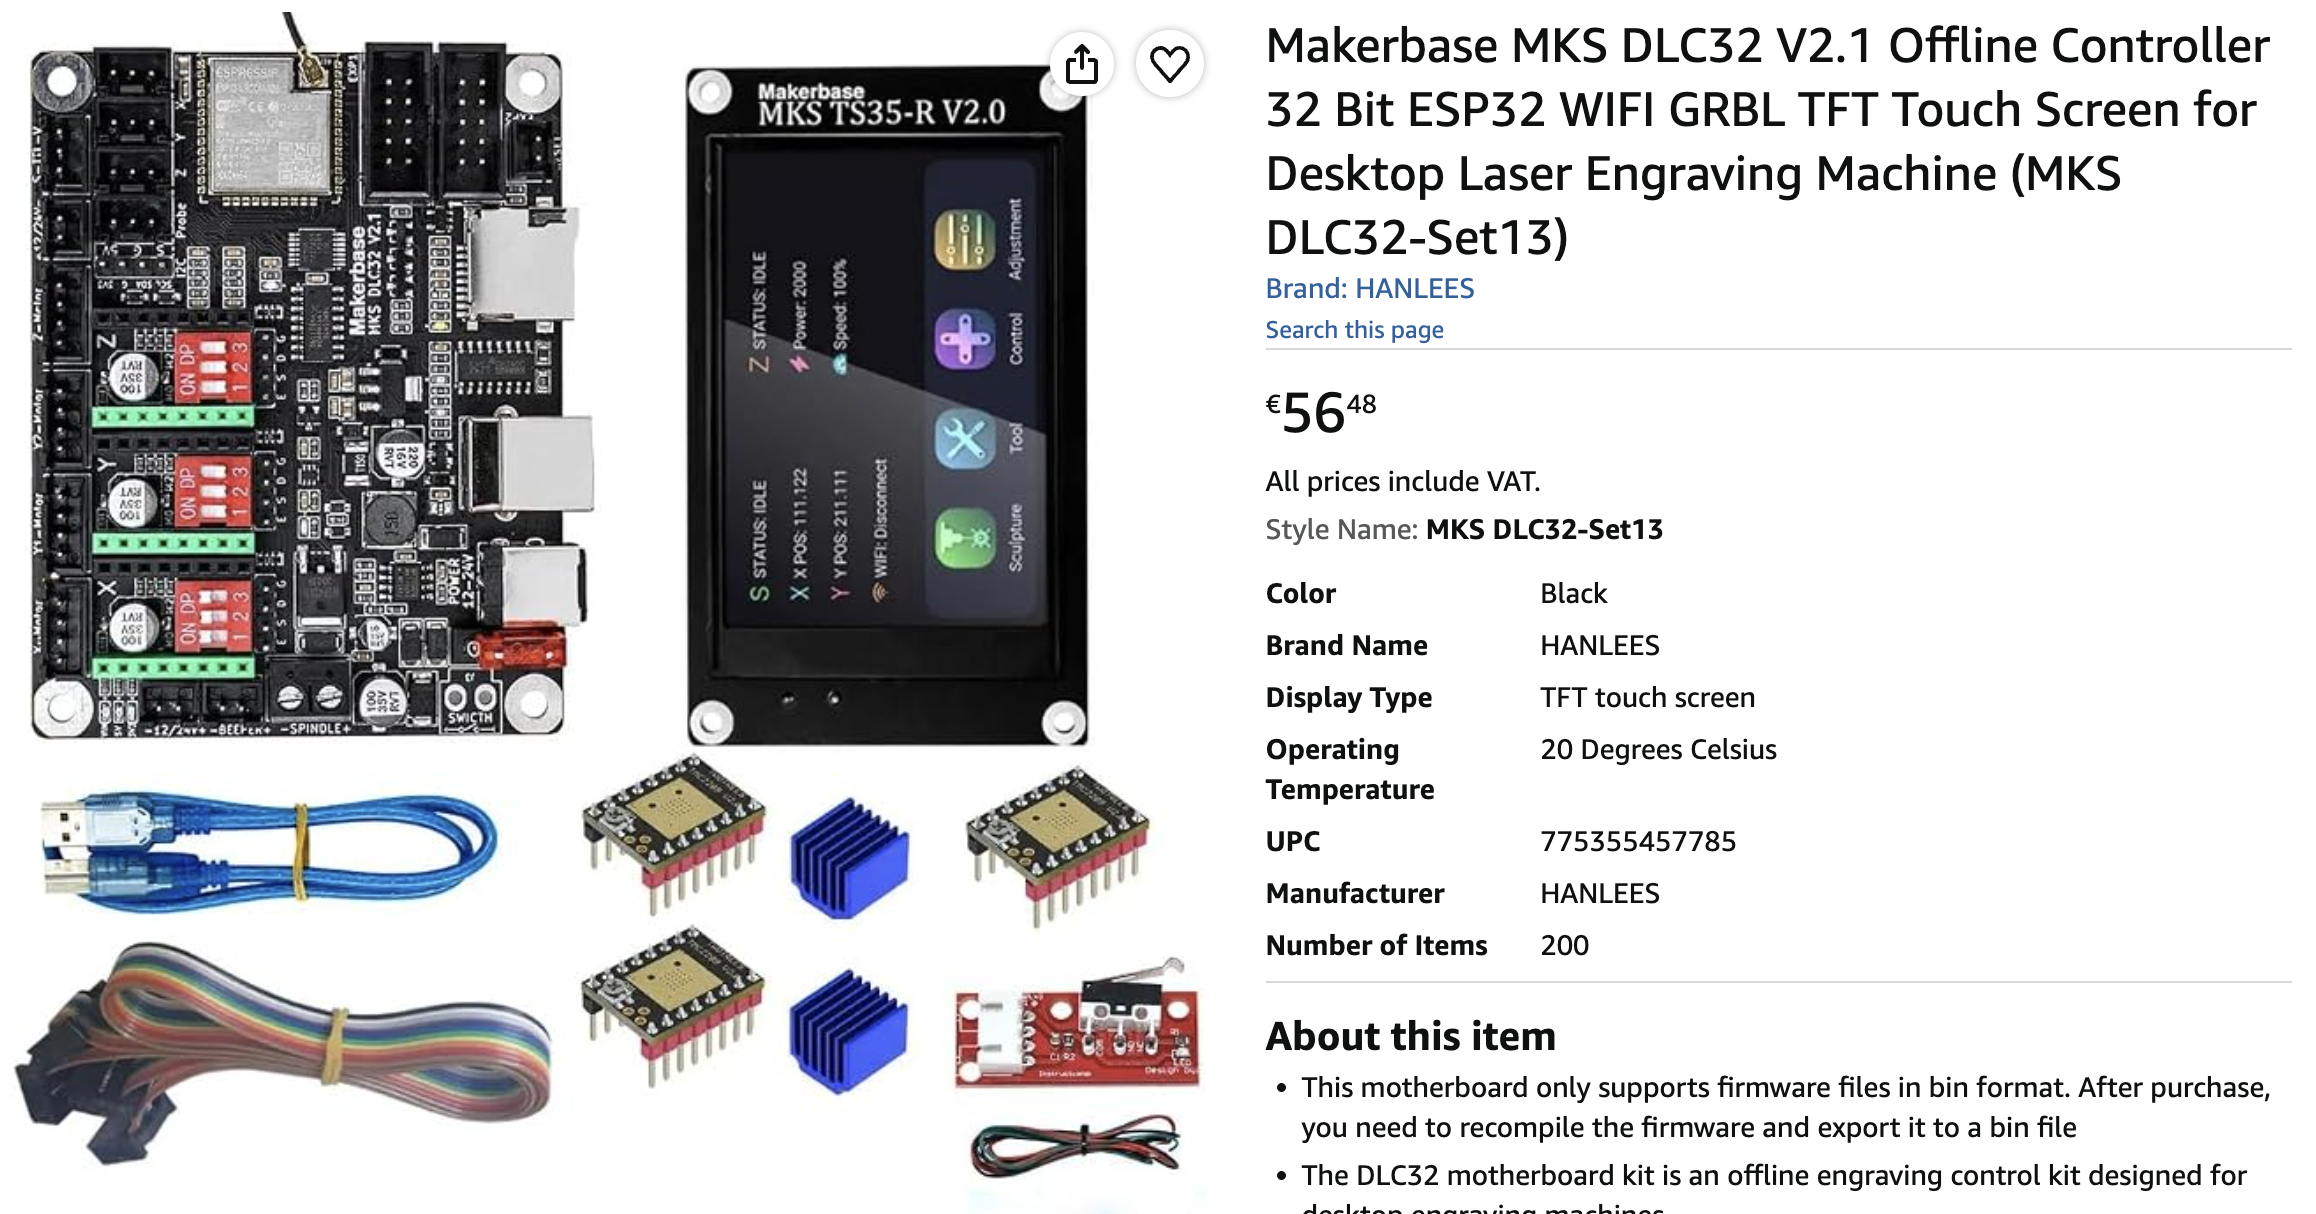
I say altogether too quick, because it turns out that FluidNC does not support the touch screen, so part of this project will be trying to get touch screen support for FluidNC.
I also will need to design some way to get repeatable prints on paper by having an easy way to mount the paper. I have some ideas, who knows how well they will work out.
Hopefully when the new controller arrives shortly I will find a fun way to enable the touch screen, in which case that will be the next post.
I have yet to decide whether to keep the current assembly or to replace all the plastic parts with my own design, maybe something based off of one of the designes on printables.com. Some of the printable designed also have magnetic pen holders so you can quickly swap the pen you are using. That’s quite interesting but also gives me the idea to see if I can add an automated pen changer for unattended multi-colour plots.